A site for solving at least some of your technical problems...

My new WiFi router, the TP-Link Archer A9
Submitted by Alexis Wilke on Wed, 03/24/2021 - 11:26
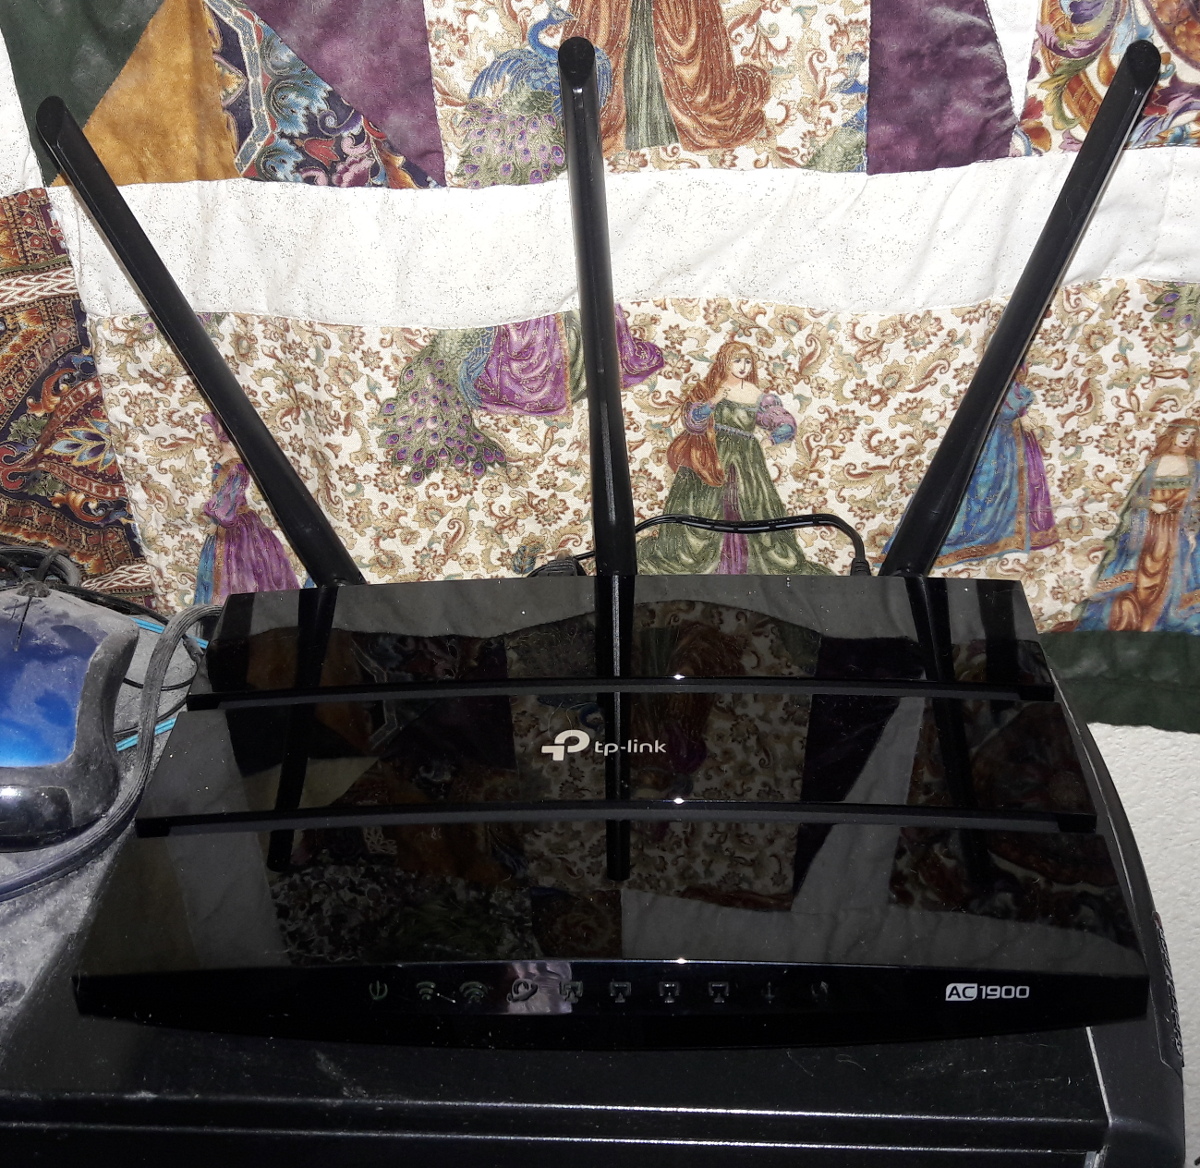
TP-Link AC1900 (click to find it on Amazon.com where I'm an affiliate)
Introduction
As my old Belkin WiFi device was not able to properly support UDP packets that it was not even concerned about, I looked into a new system and selected the TP-Link AC 1900 also known as the Archer 9.
It works. But...
Setup
First I edited the settings. One reason I selected this (opposed to say a Google Nest thingy), is that this device has a normal web interface to edit the settings. I find that much better than the concept of the Google Nest WiFi router requires voice activation. I just don't see myself going into the settings by voice and entering static IP addresses and this and that... (hey, maybe they have both, I did not want to bother).
Cons
First Setup Wizard
The very first thing that happened is that the new device forced me to go through a wizard... which was totally useless because I then had to switch my Network settings to something completely different so out of the wizard the only thing it kept are the WiFi settings (name & password).
IP and Saving Options
I quickly changed my device IP address to a static IP which I wanted to use for that purpose... and the huge drawback on that one was the Save feature. Each time I would save a new option (until I fixed the Operation Mode), the device redirected me to tp-link.net and that failed really bad since it would not be able to get me to the correct IP address. I had to re-enter the IP each time (I have a bookmark, but still).
No Firewall
On my old Belkin I was used to add new device in a list so as to only authorize the very devices I wanted on my network. No such features on the TP-Link AC1900 Archer 9...
I can still only allow the devices I want to allow by blocking all but the ones I add to my main server. But having multiple firewalls is always a good thing! My main concern here, though, for people who use this as a direct Internet router is that they have no way to block anything. Oh, you have some parental protection in the other mode. But that feature disappeared when I switch the Operation Mode. However, that's connection from the router to some website on the Internet. Not a very advanced protection of your devices (but I would assume that they do not let any outside connections come in, so that's protection enough, I would imagine).
Pros
Slick Interface!
The interface is very slick. They also offer an app. but I don't see how I could use an app. from my phone which uses WiFi to connect to the WiFi router I'm trying to setup for WiFi and my LAN network. So I have no idea how the app. works and whether it looks neat and all... but I suppose that it does since the website is neat.
Much Faster!!!
The old WiFi device would give me around 40 Mbps. It was enough already to have 4K videos play at a decent speed. Anyway, our laptops do not yet have 4K screens...
The new system can be as high as 310 Mbps on my old smartphone and 400 Mbps on a laptop. So... as fast as can be since our Internet is at 300 Mbps. (I could get a faster connection, but we hardly use the 300 Mbps 99% of the time, so why would I want more speed?! Also the 300 Mbps was forced on us because that's now the minimum... ha! ha! Good for us, though.)
All Available WiFi Modes
One reason I took this model is because it supports all the currently available WiFi modes. I think that important so as to support as many devices as possible.
Here is the list of currently supported WiFi modes of the Archer 9:
802.11n, 802.11b, 802.11g, 802.11ac, 802.11a
Steps
Wizard
The first step for me was to connect to the device. The default IP address is 192.168.0.1. Rather annoying since my main server is the router and uses .1 at the end of its addresses. Luckily, I don't use the 192.168.0.x network, so I could just add that to my list of IPs and connect to the device.
As I mentioned above, I entered the values as requested by the wizard thinking this is not going to work... and it didn't. But that was the easiest way to reach the location where I could then setup the router as required.
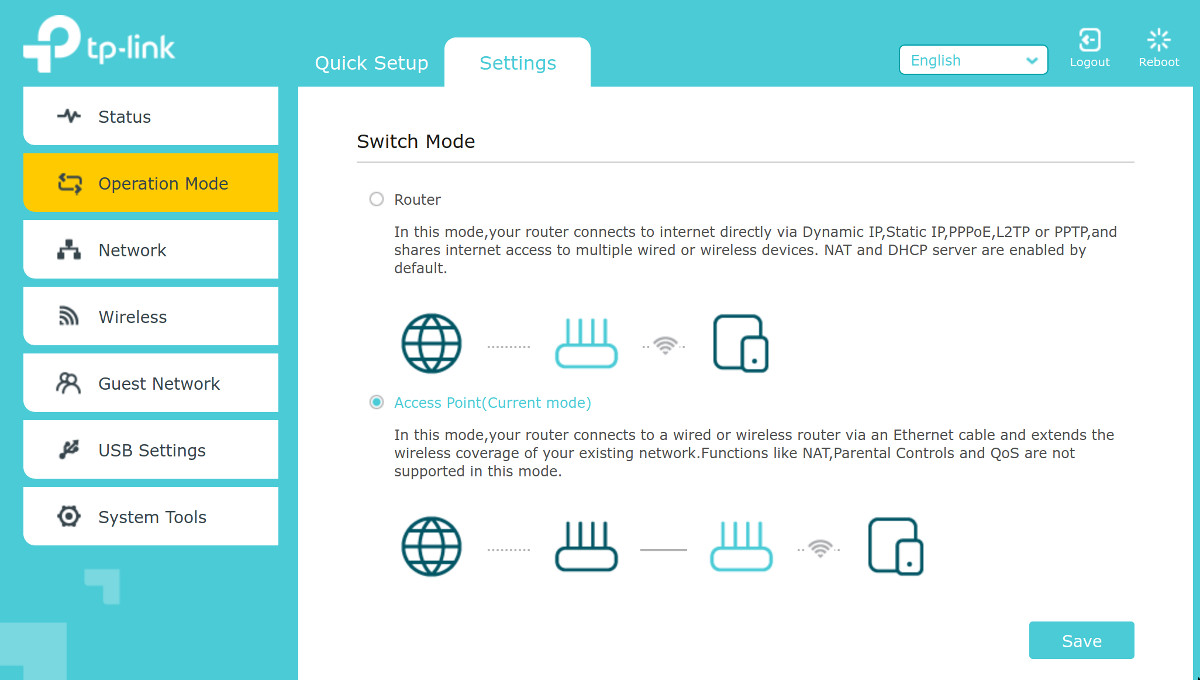
Operation Mode
After some time researching all the options, I found out that the one I needed to use was the Operation Mode option to switch an Internal Network mode which they call "Access Point".
This allows me to setup the router as a WiFi access point through my main server (i.e. my Internet router is separate and has its WiFi access turned off; this allows me to have strong firewalls and not just let people access computers on my LAN).
Network » LAN
At the time you save the new Operation Mode, the router is going to reboot. Okay. Only know that it's going to switch to a new IP address. By default, it's going to check for a DHCP. I'm not sure what IP address it would fall back onto if your do not have a DHCP service.
The main problem, of course, is to then determine the IP address of the new device. On my end, I know most of my LAN devices IP addresses, so I used Wireshark and looked for an IP which would not already be in use by my existing devices. I could then reconnect using that IP.
Here I changed the settings to use a Static IP and that way I can easily reconnect any time I want.
The good thing after that is that a Save would work as expected. The device goes back to the Dashboard, but it doesn't fail as in the other mode.
Wireless Settings
I rechecked the wireless settings, but since I already set those up in the first Wizard, it was ready to go.
If you wanted to make changes, so that's the time to do it.
Upgrade to Latest Firmware
Once your router is connected to the Internet, it will let you upgrade the firmware. I suggest you plan on doing so at least once before using your device. In my case the firmware was pretty old since the newest was about 8 months back... so you could have security bugs in such old firmware. On my end I'm not too worried since I don't directly connect that router on the Internet, but otherwise... ouch!
To do this, go to System Tools » Firmware Upgrade. In here you will find the option to upgrade. If the device didn't check for a newer version of the firmware, click on the Check for Upgrade button.
For me that took a few minutes and it rebooted properly. No issues.
Adding Wireless Devices
Now I was ready to go, I added my smartphone and it connected first time!
I just entered the SSID and the password and voilà!
Recent Posts on The Linux Page: