First Boot
If you're here because the first boot didn't work, the system showed a message in the console saying:
a start job is running for End-User configuration after initial OEM installation
Then you most certainly have the network connected. The Jetson will not start if there is a chance that it is connected to the Internet and thus could let someone from the outside connect to the board unless you already setup a user account with your very own user name and password.
This is done like this because of a new law in California which now forces people to enter a username and password on new devices instead of creating a default account with a default password which hackers love very much.
If you can't reboot even without the network cable, you'll have to flash the board. Of course, if you're here because of this problem, it's probably too late.
I do not know whether disconnecting the network cable will help. On my end, I flashed and rebooted without the network cable and that Jetson booted as expected. The other two boards, I did not connect the network and they booted right up as expected.
Source: Brand new Jetson AGX Xavier doesn’t boot
Desktop Sharing
There is a bug in the Vino definition which prevents the Desktop Sharing window from opening. It will "crash" (or at least throw an error because that one option is not present).
To fix the problem you can simply add the option in the Vino file.
To open the file, use sudo and the following path:
sudo vim /usr/share/glib-2.0/schemas/org.gnome.Vino.gschema.xml
Then add the missing key:
<schemalist>
  <schema id='org.gnome.Vino' path='/org/gnome/desktop/remote-access/'>
    <key name='enabled' type='b'>
      <summary>Enable remote access to the desktop</summary>
      <description>
        If true, allows remote access to the desktop via the RFB
        protocol. Users on remote machines may then connect to the
        desktop using a VNC viewer.
      </description>
      <default>false</default>
    </key>

    <key name='prompt-enabled' type='b'>
      <summary>Prompt the user before completing a connection</summary>
      <description>
        If true, remote users accessing the desktop are not allowed
        access until the user on the host machine approves the
        connection. Recommended especially when access is not password
        protected.
      </description>
      <default>true</default>
   </key>

   ...
I just had to add the part I highlighted in yellow.
For the change to be taken in account you have to compile it. Run the following command:
sudo glib-compile-schemas /usr/share/glib-2.0/schemas
Note that the compiler must not return any error if you want this to work.
Once this is ready, you should be able to setup the server through your preferences. However, at least on my system it has not started it automatically. It was enabled but it needed a little kick. To do that I used:
systemctl --user start vino-server
As usually, you can use the status command to see how the server is doing (crashed, enabled, etc.):
systemctl --user status vino-server
Notice that it uses the --user command line option. This is because this is a user specific server. It does not exist in the system (you can't start that as a system server).
By default, the server will not be automatically started. If you would like the command to auto-start, use the "Startup Applications" interface (click on the "Show Application" and type "Startup Applications" then click on the icon). To add the command to your startup, click the Add button and then enter a name and the start command as shown above. That way, when you log on, it will automatically start your VNC service. Also, when you log out, it will automatically stop it.
For the hard core people, that can be done using an editor. Editing with vim:
vim ~/.config/autostart/systemctl.desktop
Then add an entry such as:
[Desktop Entry]
Type=Application
Exec=systemctl --user start vino-server
Hidden=false
NoDisplay=false
X-GNOME-Autostart-enabled=true
Name[en_US]=Vino Server
Name[fr_FR]=Vino Serveur
Name=Vino Server
Comment[en_US]=Auto-start the VNC service on login in
Comment[fr_FR]=Auto-démare le service VNC sur une connection
Comment=Auto-start the VNC service on login in
If the autostart folder or systemctl.desktop file do not exist, create them.
Source: Ubuntu Internal error when selecting desktop sharing in settings. (answer #18)
Source: How to get vino VNC server to start on startup in Ubuntu 18.04.1?
Sharing with No Access of Remote Computer
If you remote computer does not give you access the connection will give you a black screen. It will not work until you click on the "Authorize" button...
This is not going to be useful if no one has access to that remote computer you're trying to connect to.
To fix that issue, you can actually use SSH to setup the one value which tells vino whether to accept connections without prompting for an authorization or not.
You can actually see that option in the XML file above: prompt-enabled
To access that option you use the following commands:
alexis@ubuntu:~$ gsettings get org.gnome.Vino prompt-enabled
true
alexis@ubuntu:~$ gsettings set org.gnome.Vino prompt-enabled false
alexis@ubuntu:~$ gsettings get org.gnome.Vino prompt-enabled
false
As shown above, the default value is true. From the ssh command prompt, you want to change it to false and make sure it was updated.
Now try to connect with Remmina (if you tried before, close that connection and try again—if that doesn't work, reboot, restart vino as required, then try to connect again). This time you should see the screen magically appearing.
Desktop Sharing Client
I used Remmina. It works. It's what Ubuntu says we should use too.
sudo apt-get install remmina
Once install you can start it from the console or your Desktop launcher. Once in, enter your remote computer IP address and connect. Note that you may have to open the port in your firewall if you have such in place. By default, a VNC uses port 5900.
Desktop Sharing Behind the Firewall
Since I have a strong firewall, all the ports are blocked by default so I needed to open up a little hole so my co-workers would be able to access the desktop I just shared. Without that, it's not going to be very useful to do that sharing. It's fairly slow and I could as well work directly on the Jetson. It's just much faster/easier to do it that way!
So in this case we have to forward packets sent to port 5900 to another computer. This can directly be done with the firewall. In other words, we do not need some weird proxy tool. Linux is great in that respect.
First, we need to forward packets from eth1 to eth2. This is only for the connection itself, not the data traveling afterward. I'll assume you checked my other firewall setup post which explains this in more details.
iptables -A FORWARD -i eth1 -o eth2 -p tcp --syn \
           --dport 5900 -m conntrack --ctstate NEW -j ACCEPT
Next you need to preroute to change the IP address. Without a preroute, the connection would happen on the very server accepting requests. The following shows how this is done. Notice that the input interface is specified. In my case I have one interface to connect to the Internet and another to connect my intranet. It increase your security without as much work, I think.
iptables -A PREROUTING -i eth1 -p tcp --dport 5900 -j DNAT \
                                --to-destination 10.10.10.11
The prerouting is important, but we also need a postrouting to reroute traffic coming back from our intranet computer.
iptables -A POSTROUTING -o eno2 -d 10.10.10.11 -p tcp \
                 --dport 5900 -j SNAT --to-source 10.10.10.1
Notice that we route it to the same interface so the --to-source IP address is our intranet gateway and not the outside internet IP address.
That's it.
Is that going to be more efficient than a proxy service? You bet! Especially, you won't have to sort out that proxy and make it work separately of the rest...
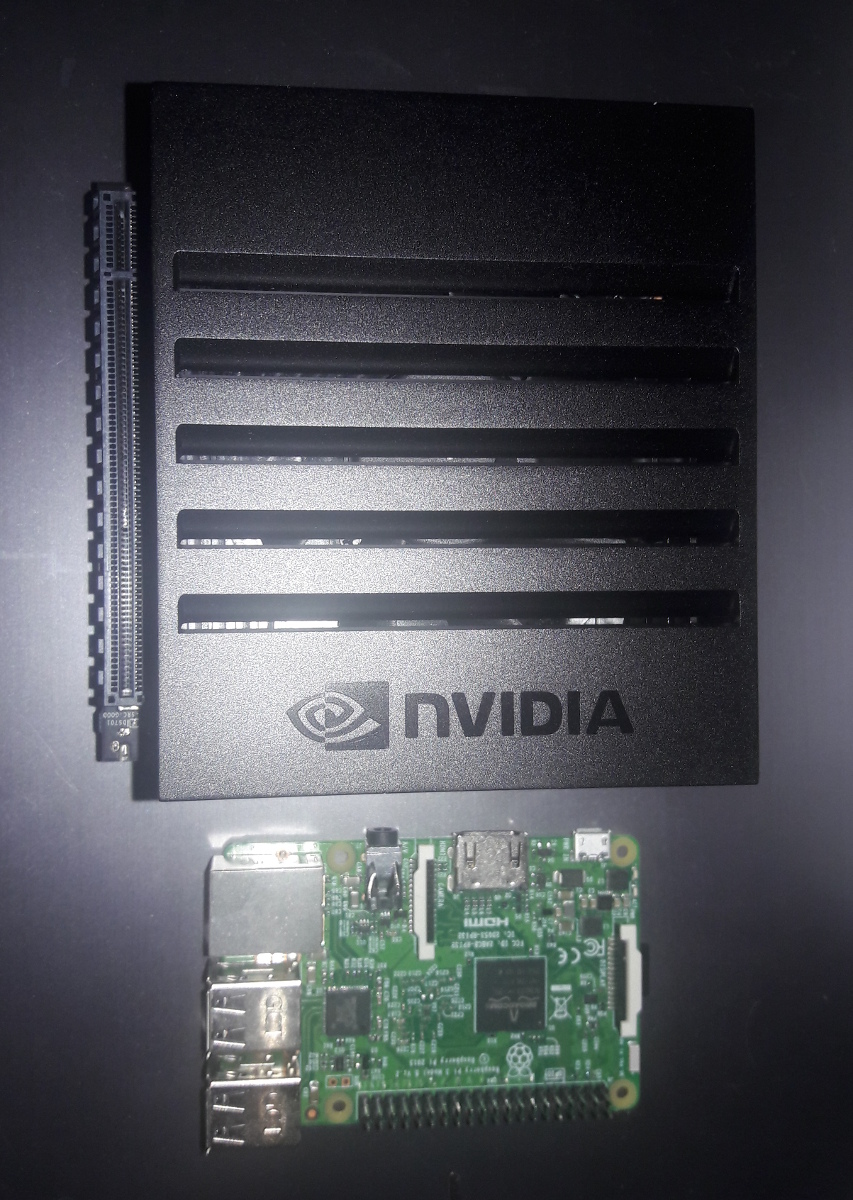
Top View of the Jetson Box


