A site for solving at least some of your technical problems...

Setting up my Raspberry Pi 3 WiFi network
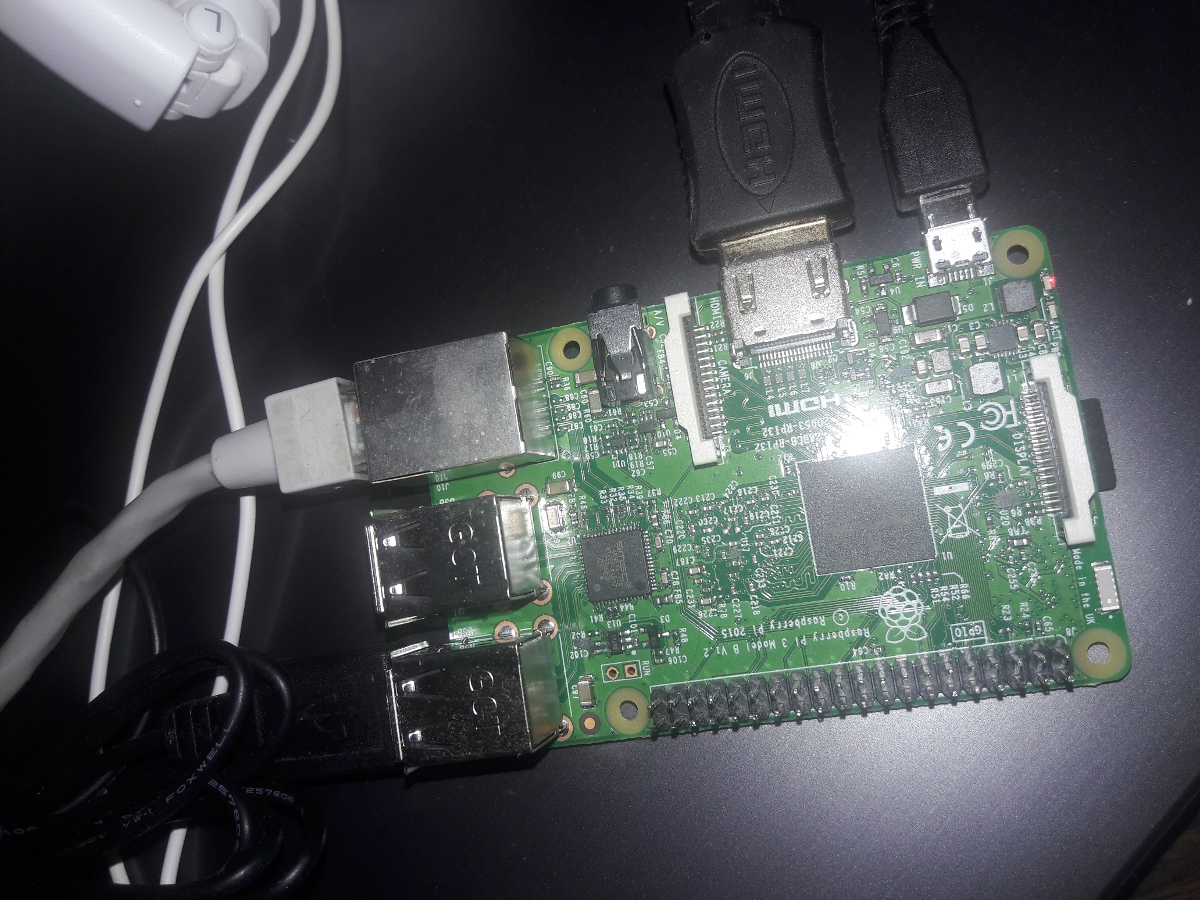
Submitted by Alexis Wilke on Fri, 05/08/2020 - 00:31
Preparations
Well, that was a bit of work and I don't have all the answers yet, but I was able to setup the WiFi network on my Raspberry Pi 3.
The steps are numerous because it did not work on my first attempt!
First of all, if you have MAC addresses firewalls and similar on your network, you want to check on that first and open the door to your Pi. I have such on my Belkin WiFi Router and on my main server so anyone can't just connect to my systems.
To see the MAC address of the Pi 3 WiFi, all I had to do is:
ifconfig
...
wlan0 ...
    ether 01:23:45:67:89:AB ...
...
So, the WiFi is wlan0 and the "ether" address is your MAC address for that device. In my case, it was already turned on so it worked just like that. If not on, you will have to find out why.
Setup WiFi Port
First you want to edit your WPA applicant settings. For details about the available settings, check out the manual page. It has many examples (man wpa_applicant.conf)
Edit the file like so:
$ sudo vim /etc/wpa_supplicant/wpa_supplicant.conf
Then make sure you have something like this:
ctrl_interface=DIR=/var/run/wpa_supplicant GROUP=netdev
ap_scan=1
update_config=1
country=US
network={
    ssid="Top_Secret_ID"
    psk=0836173a3212a98298e4f73496247158ad0cd357403aaae2a6d7d09dd41a234e
    key_mgmt=WPA-PSK
    scan_ssid=1
}
In most cases, the basic defaults will work, but I had to add the:
scan_ssid=1
because my SSID is hidden and without that, it would not find the device (it compares the "\0\0\0\0\0...." string with my ssid="..." and it doesn't match!)
Next, I put the key management type because I use WPA2 and it seems to help.
The ssid is your user name on your WiFi device.
The psk parameter is generated. I use the following command to do so:
wpa_passphrase Top_Secret_ID
The command tells you that it wants to read the secret password. Enter it and then hit Enter. That generates data that looks like a network entry in the output. One of the lines is your psk parameter which you will want to copy in your WPA file as shown above.
Finally, reboot. I tried many commands and it would not pick up the changes and reconnect to my router. Rebooting worked, though.
Once rebooted, try:
ifconfig
again. This time the entries should show some traffic went through your wlan0 interface. If you properly authorized that wlan0 on your WiFi router, main server, etc. then everything should work like a charm.
Forcing the ESSID
If you want to force the ESSID (after all, you may have only one router of your own, right?) then you can do so with the following command:
First check the current value:
$ iwconfig wlan0
wlan0     IEEE 802.11  ESSID:off/any
          Mode:Managed  Access Point: Not-Associated   Tx-Power=31 dBm
          Retry short limit:7   RTS thr:off   Fragment thr:off
          Power Management:off
Set a new value:
$ sudo iwconfig wlan0 essid Top_Secret_ID
Verify it sticked:
$ iwconfig wlan0
wlan0     IEEE 802.11  ESSID:"Top_Secret_ID"
          Mode:Managed  Access Point: Not-Associated   Tx-Power=31 dBm
          Retry short limit:7   RTS thr:off   Fragment thr:off
          Power Management:off
The cool thing with this is that if you have (pesky) neighbors with very strong WiFi which you can catch from home, you can make your device much more secure by making sure you only connect to your WiFi router. Otherwise the WiFi system may bounce between connections when yours goes down.
ip to see "NO-CARRIER"
If you want to see whether there is a Carrier, use the ip command instead of ifconfig like so:
$ ip link show wlan0
3: wlan0: <NO-CARRIER,BROADCAST,MULTICAST,UP> mtu 1500 qdisc pfifo_fast state DOWN mode DEFAULT group default qlen 1000
    link/ether b8:27:eb:d8:9b:6f brd ff:ff:ff:ff:ff:ff
Here the command tells us that no carrier was found between your device and the wireless router. We also get the MAC address. Also this one clearly shows that the device is asked to be turned on (UP between the <...>) but is not currently working (state DOWN).
Note that the ifconfig command is actually considered deprecated and in Ubuntu 18.04 it was removed (you can still install it, though). So it's probably a good idea for you to get used to the ip command sooner rather than later.
Finding Your Device
The following command lists all the WiFi devices that the Pi WiFi system is able to find:
sudo iwlist wlan0 scan 2>&1 | less -S
The command takes a little time to start listing the accessible WiFi devices.
If the list is empty, then it's not finding anything meaning that the WiFi is likely turned off. Try the following to turn it back on:
nmcli radio wifi on
Wait a bit and try the iwlist command above again.
Prevent WiFi from Going to Sleep
One problem some people reported, and I have no clue whether I had the problem or not, is that their WiFi device would go to sleep and not auto-wake up properly later.
If you run in problems where the connection gets established, you can use it for a while, and then the carrier is lost forever, then you may be running in this problem too.
One way is to disable the sleep mode of that device using the following command:
sudo /sbin/iw dev wlan0 set power_save off
I'm using that setup too, just in case. Anyway, either I'm using my Pi 3 or it's turned off, so there should be no problem for me with that one.
To see the current status:
sudo iw wlan0 get power_save